Stage 02 · Layout & Labelling

GIVE EACH LOCATION A JOB

When a shelf bay holds "whatever fits today", operators spend half their shift hunting for partial cartons and the other half writing off missing stock that is sitting two aisles away. Giving every rack beam, shelf bin, and floor lane a single, unmistakable job prevents lost stock at the moment of putaway.

2A

SEPARATE RECEIVING, PICKING, AND PACKING FOOTPRINTS

In small industrial units with a single roller shutter door, a U-shaped flow works better than trying to force straight-through docks. Dedicate the left flank of the shutter to inbound unloading and inspection, loop your racking aisles through the centre of the room, and position packing benches and courier staging cages on the right flank of the same door.

The critical rule is physical separation between unbooked goods and active pick faces. Paint a 75 mm terracotta floor tape boundary around the inbound inspection table. Nothing crosses that line onto a storage rack until its delivery note is reconciled and its destination location is verified.

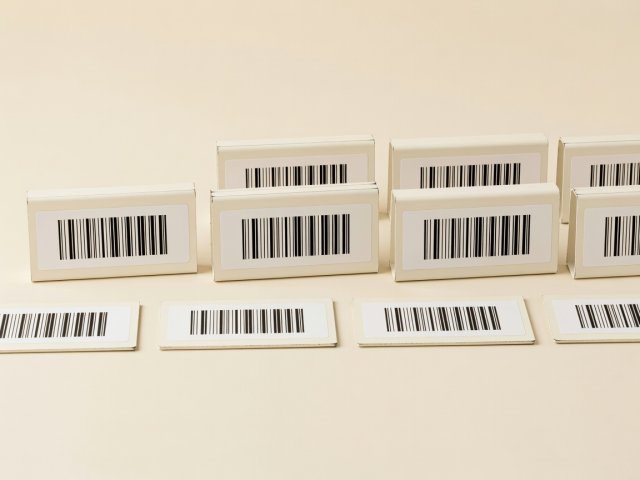
Soft-lit 3D render of magnetic C-profile rack beam labels with Code 128 barcodes on plain cream ground Addressing

Magnetic vs Polypropylene Labels

Use cold-rolled magnetic C-channel strips on adjustable steel shelving so coordinates move cleanly when beam heights change, or matte polypropylene adhesive labels where scanners need zero glare under overhead LEDs.

See Coordinate Syntax →
2B

STANDARDISE THE ALPHANUMERIC COORDINATE SYNTAX

Ambiguous labels like `12-3-2` confuse operators because numbers run together when read quickly. Alternating letters and two-digit padded numbers creates a visual rhythm that catches the eye and prevents transposition errors when keying or scanning locations.

Segment Format Example Physical Meaning Error Prevented
Zone S (Small Parts) / P (Pallet) Storage equipment type or temperature area Stops staff searching pallet racking for small polybag washers
Aisle 01 to 14 Walkway numbered sequentially from main entrance Prevents walking into the wrong corridor
Bay 01, 03 (Left) / 02, 04 (Right) Odd bays on left, even bays on right, matching street houses Eliminates spinning around in the aisle to find bay numbers
Level A (Floor) up to F (Top) Always lettered from bottom up If a top beam is added later, existing lower labels never change
Bin Position 01 to 08 Left-to-right slot along the shelf beam Pinpoints the exact 200 mm bin face inside a 1.8 m wide bay

Print a bold directional arrow (`↑` or `↓`) beside every barcode on waist-height beams. Without arrows, a picker standing in front of Level B frequently scans the barcode attached to the bottom lip of Level C directly at eye level.

2C

VELOCITY SLOTTING AND FIXED BIN BOUNDARIES

Grouping products strictly by supplier name or part-number sequence feels tidy on paper, yet it forces pickers to walk the entire length of the building for every order and crowds similar-looking variants (`M8x20` vs `M8x25` stainless bolts) into adjacent trays where hands easily slip.

Instead, slot your top 15% highest-velocity items in the front third of the aisles closest to the packing bench, positioned between waist and shoulder height. Separate visually identical variants by placing an unrelated item—such as a brass gland or nylon clamp—between them. Finally, enforce a strict "One Bin Compartment, One SKU" rule. If two low-volume spares must share a shelf bay, install a full-height clip-in divider and give each half its own barcode (`S-01-03-B-01` and `S-01-03-B-02`).